 |
| Home | Solutions/Products | Deployment/Installation | About Cryptography | User Manual | Tutorial | FAQ |
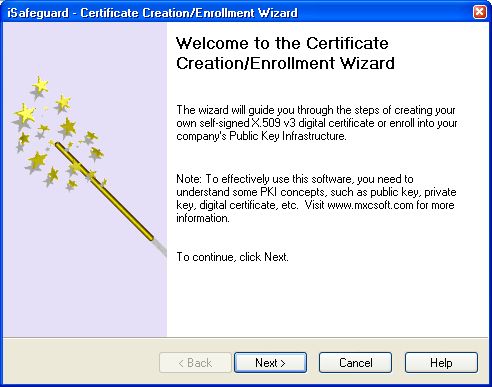
Creating A New CertificateNow you have successfully created your profile. But it is empty until your create a certificate (and key pair) for yourself or import other people's certificates. Upon clicking the OK button in the iSafeguard - For Your Information dialog, the software will launch the certificate generation wizard to guide you through the process of generating a new certificate. If you don't want to generate a certificate at this time, you may cancel the wizard. Remember you need a certificate to sign and encrypt you files and emails. Now let's follow the wizard to generate your very first digital certificate. General InformationThis startup screen gives you some general information about the wizard.
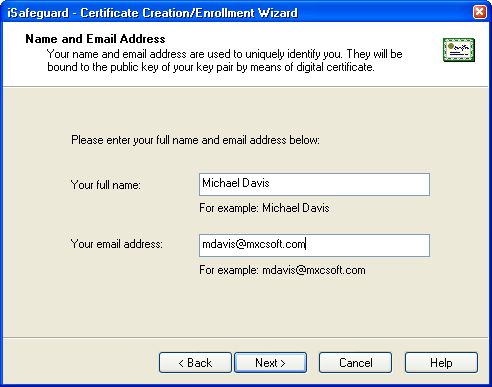
Subject InformationThe Name and Email Address screen is shown in the following figure.
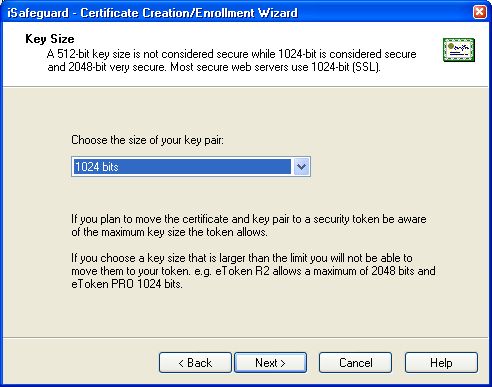
Your full name and email address will show in your final digital certificate. Key Pair SizeYou can use one of the predefined key pair sizes or choose your own customized key pair size. If you choose to use a custom key pair size you must make sure that you choose a size between 512 and 8192 in 8-bit increments. A 2048 bit length should be good enough for most people.
The key pair size is the lengths of the public key and the private key in bits. See FAQ: "There are two key lengths, 2048 and 128, I am confused" for information about the key pair size. Key Pair Expiration DateYou need to select an expiration date for your certificate. If you don't want your certificate to expire select a very large number for the expiration year.
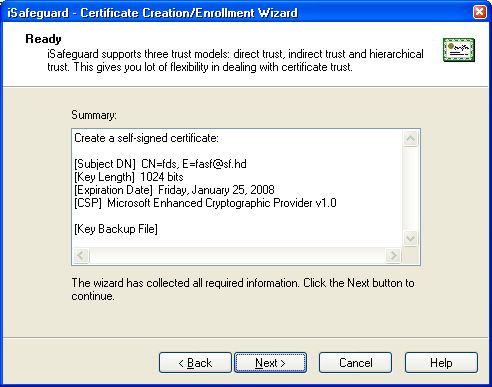
ReadyNow the wizard is ready to create your certificate and key pair. Click the Next button to continue.
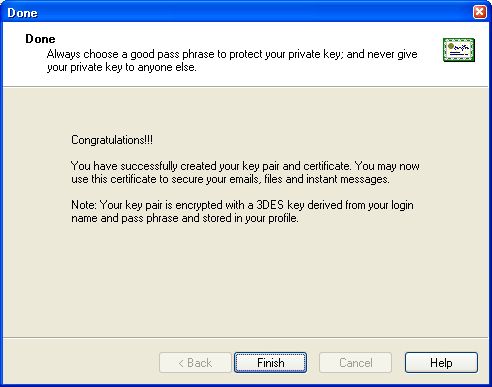
Key Pair GenerationIt may take a few minutes to generate your key pair depending on the size you choose. When the generation is completed you will see the following screen.
Now you have successfully generated your very first key pair and certificate.
Taking A Look at the Newly Generated CertificateWell, what's in my certificate? You may wonder. Let's find out.
This will start the Certificate Manger as shown in the figure below.
You can see there is one item in the Certificate Manager window - a certificate Michael Davis issued to himself. To see the details of the certificate
Or
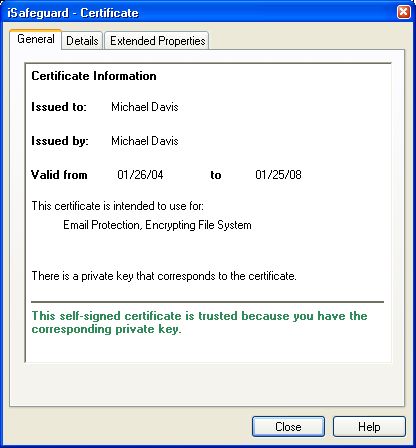
The certificate viewer starts and the General tab is shown in the following figure.
Now click on the Details tab to find more information about the certificate as shown in the picture below.
This is a standard X.509 digital certificate that includes version number, serial number, signature algorithm, etc. If you are curious about the certificate, click on each field to discover more details. |

 on the taskbar;
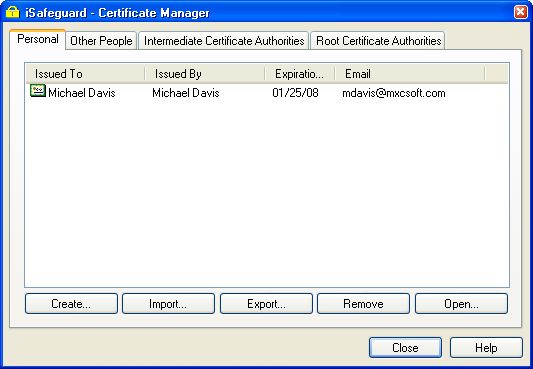

| Trademarks | Copyright © 2001-2007 MXC Software. All rights reserved. |